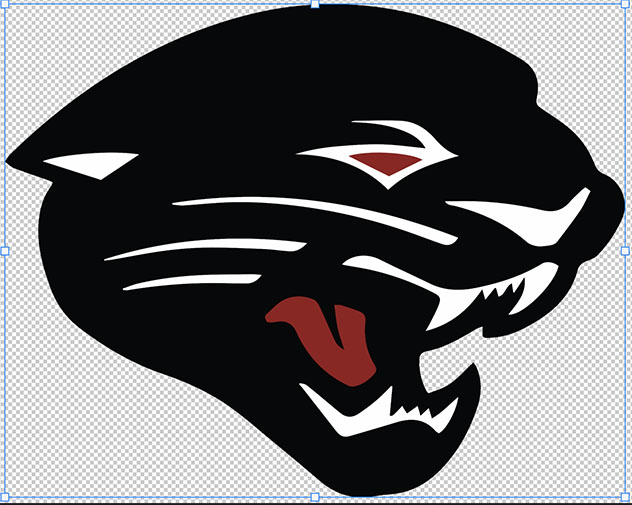
1. Open the image of the DRHS logo, I will be using a different logo in this example as I have used the Jag logo many times and already have it in my library.
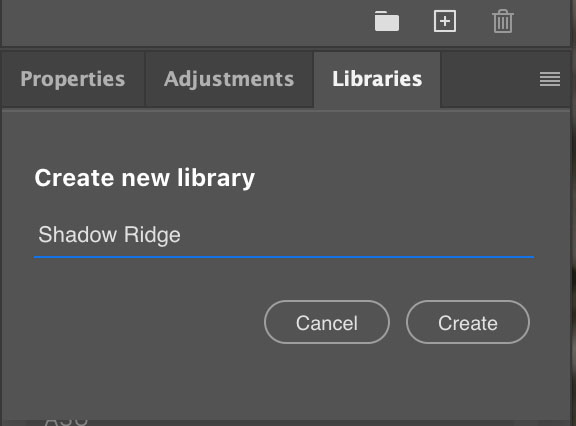
2. In the Libraries Panel, click on Create a New Library, name the new library. DRHS Jag would work for this example. Always use a name that best describes the library you are creating.
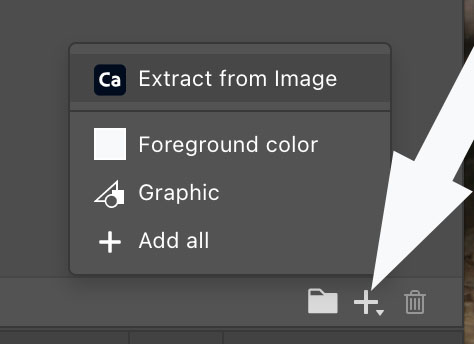
3. At the bottom of the Libray Panel, click on the Add Elements, it will be a plus sign. Click on Extract from Image option.
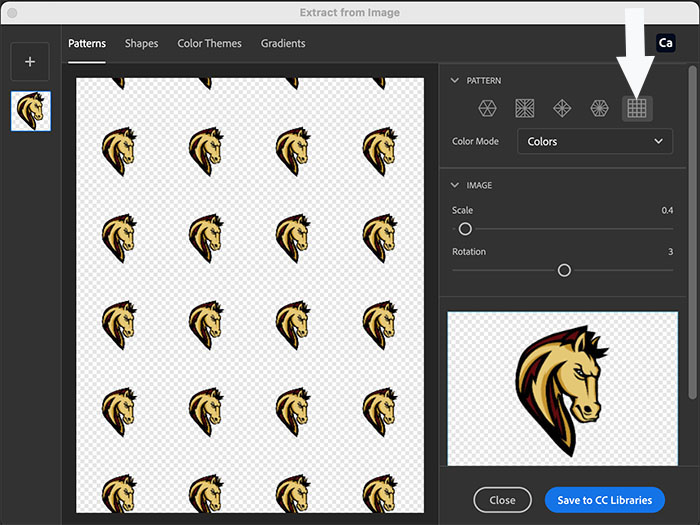
4. In the Extract from Image window that pops up, choose the far right grid in the pattern option and change the Scale if needed to fit the logo. When the logo is completly in the screen, click on Save to CC Libraries. It will appear in the libraries panel.
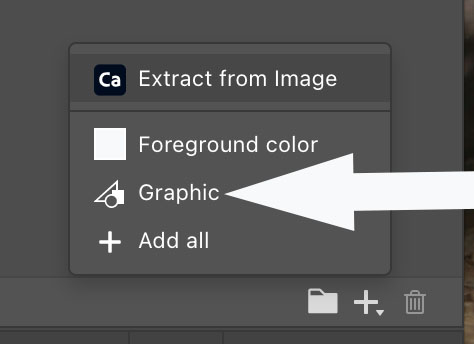
5. Go back to the Add Elements Plus button at the bottom of the libraries panel and this time click on the Graphic Option. The graphic will not be in the library and will be in the same place everytime you are in need of the logo!!
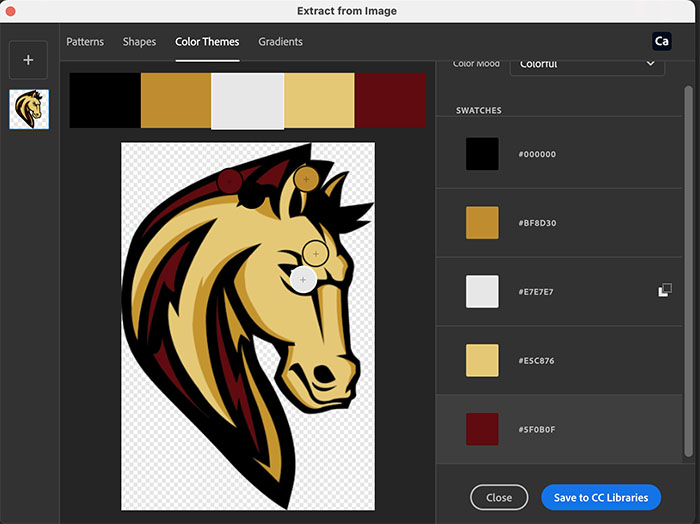
6. At the bottom of the Libray Panel, click on the Add Elements, again click on the Extract from Image option to bring up that window.

7. This time, choose color themes at the top of the window. The program will find the different colors in the logo and place them to the right of the logo. At the bottom right of the Window, click on Save to CC Libraries. The color will be added to thel library.
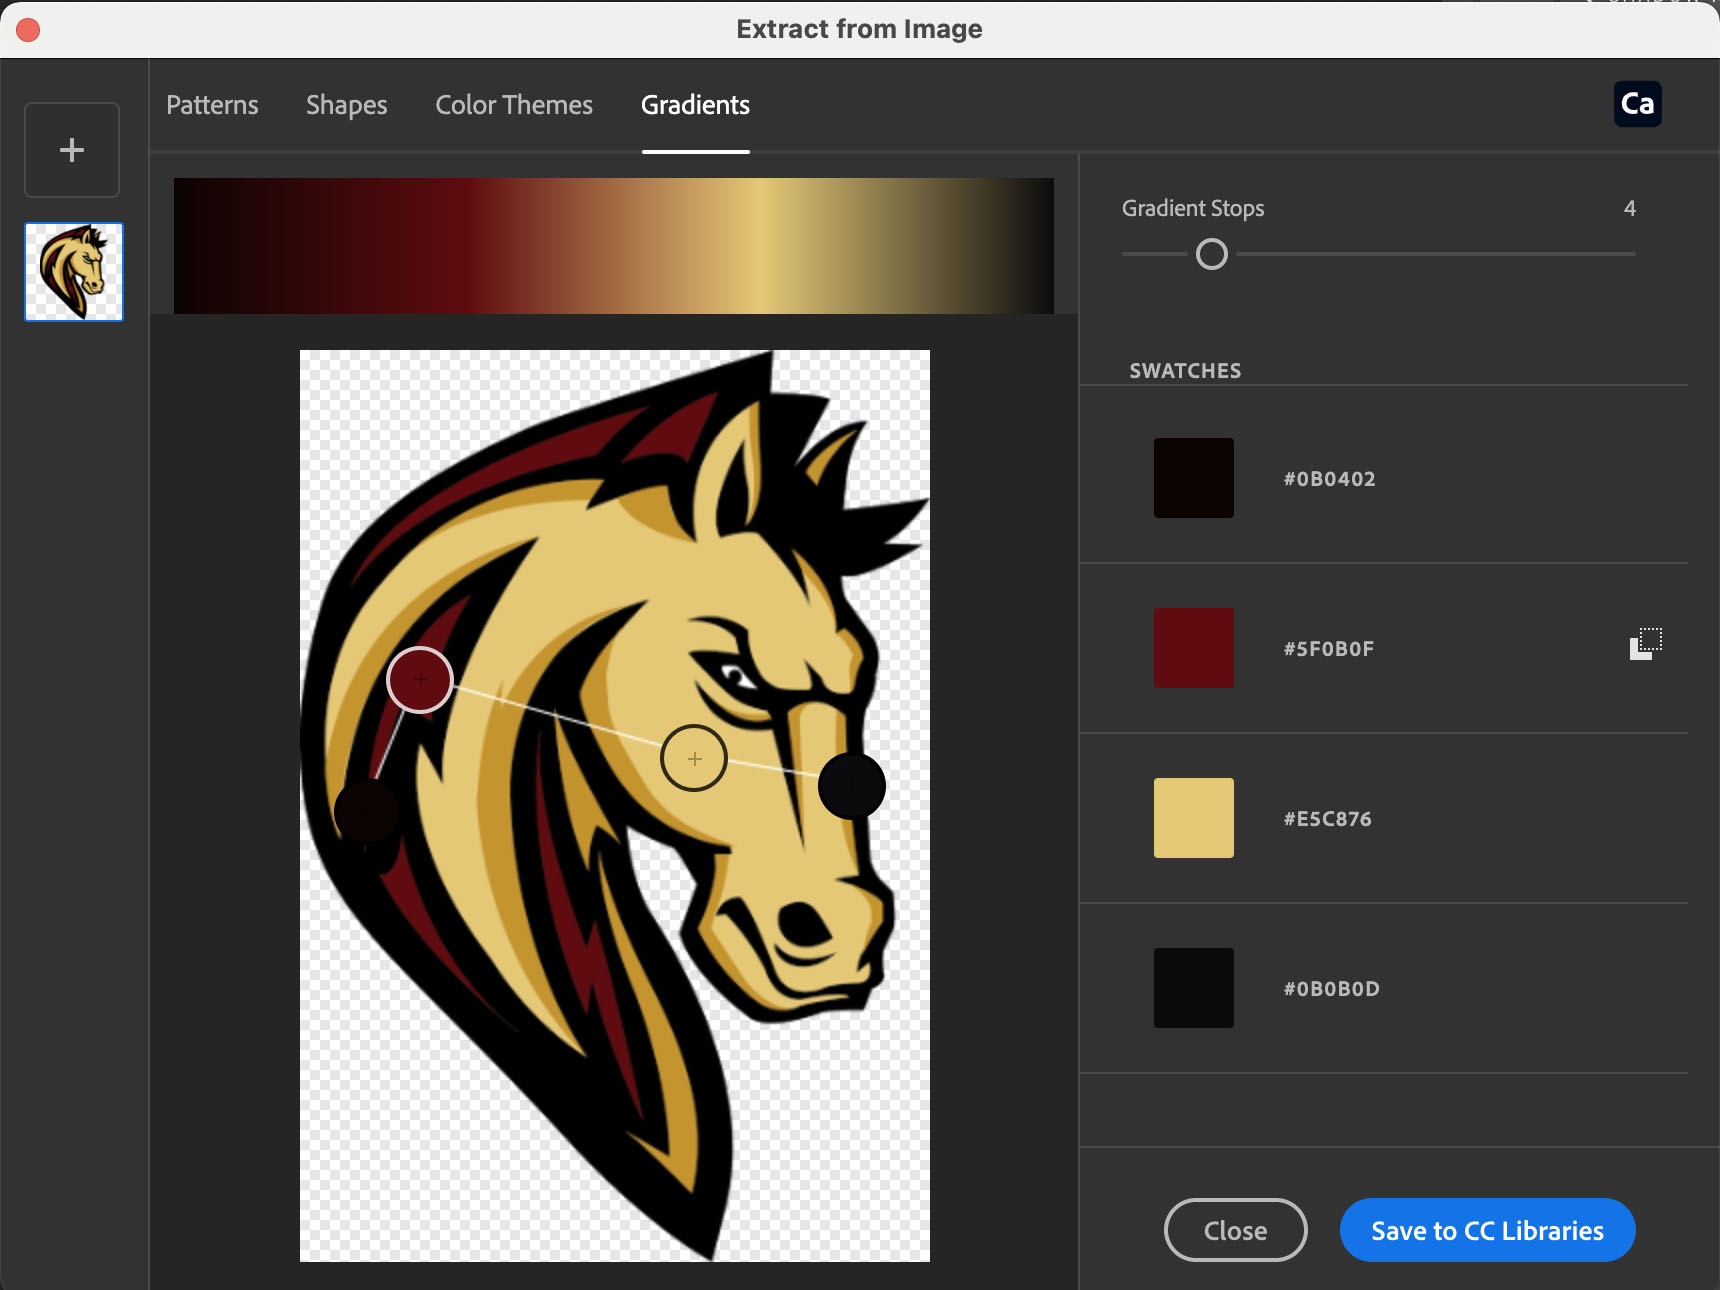
7a. Once again, at the top of the window that pops up, choose the Gradient option and the program will choose colors for a gradient on the logo but you can pick your own as wel. The Jaguar logo is simple but please use a different logo after you work on the Jaguar for this option.
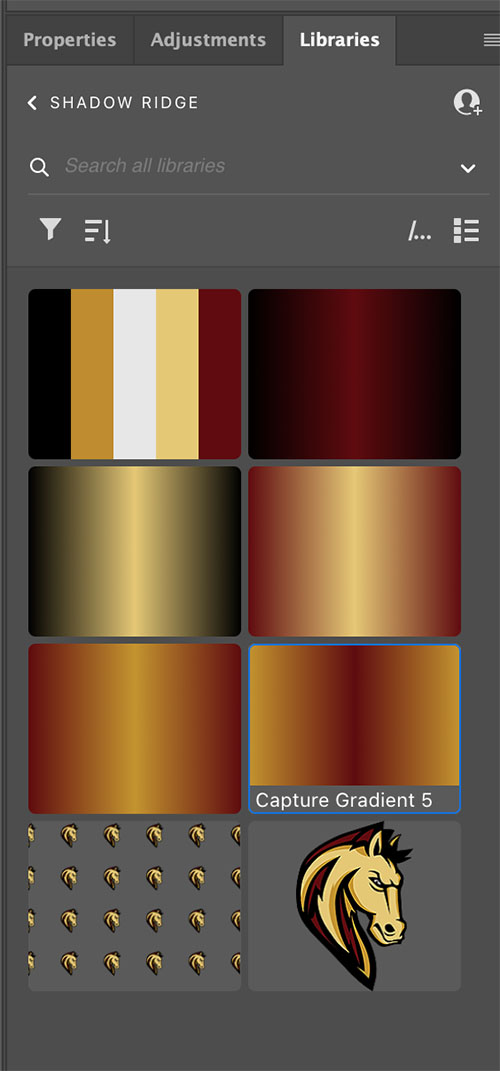
8. Your library should look like something like this in your photoshop program.
