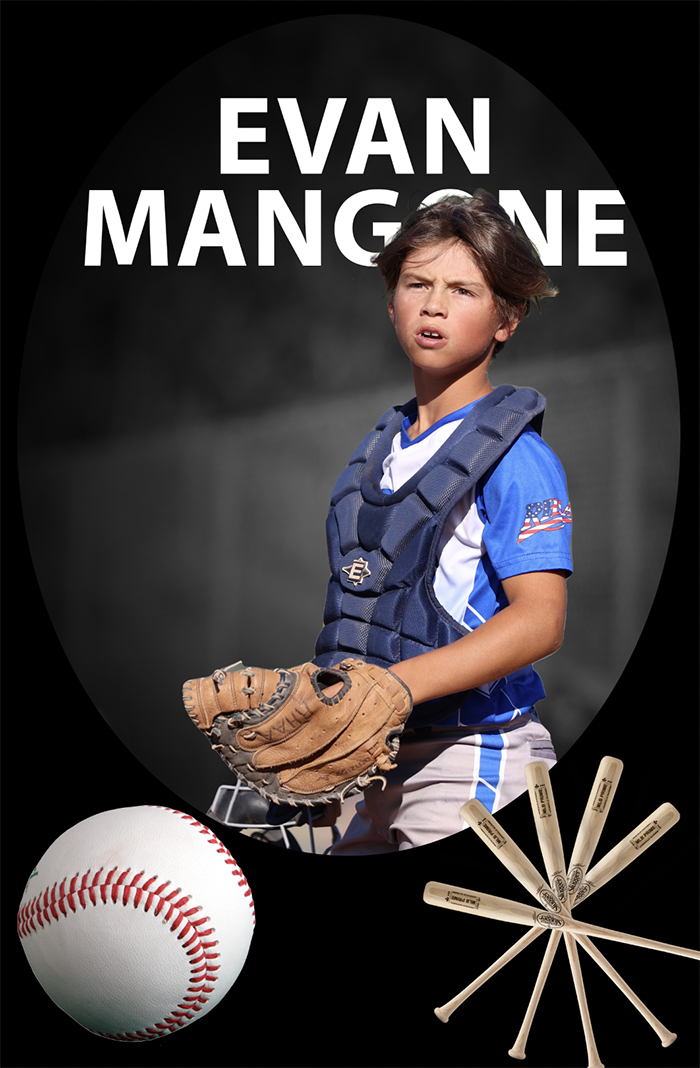
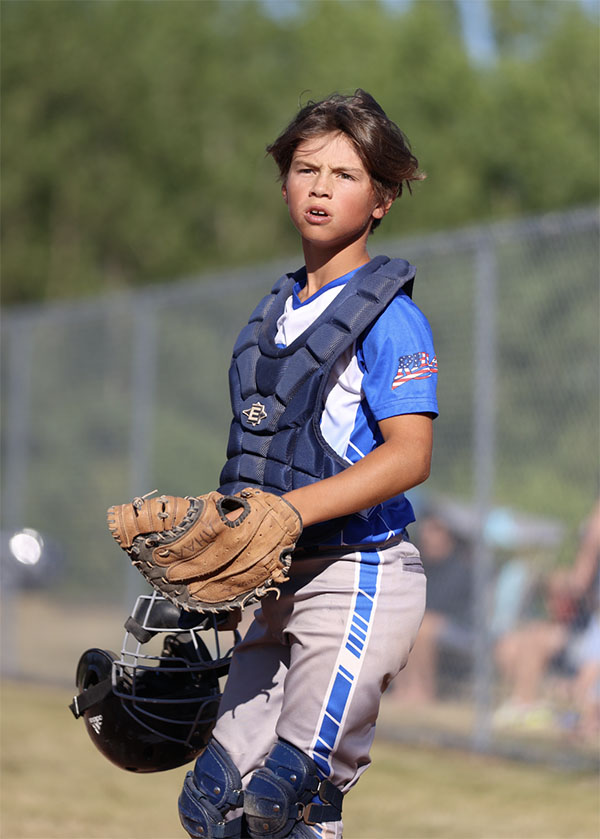
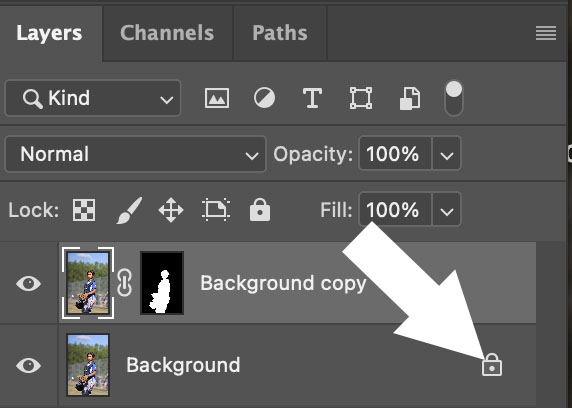
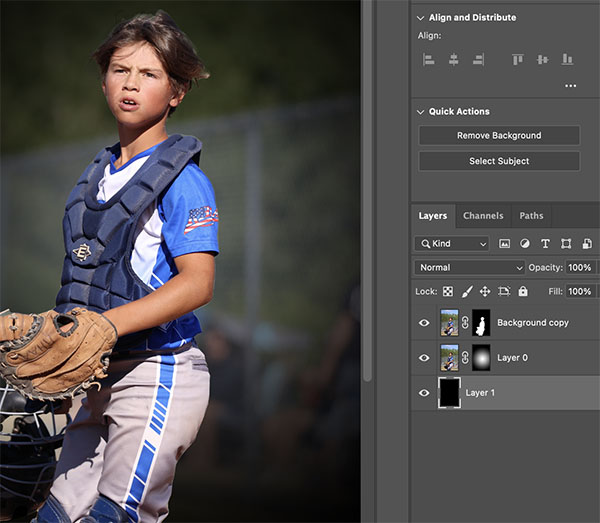
1. Open the picture of my Nephew into photoshop and cut out the hair using the lesson that is in google classroom. In the layers panel, have a duplicate layer made before starting out. On the Background layer please click on the lock if it is on that layer.
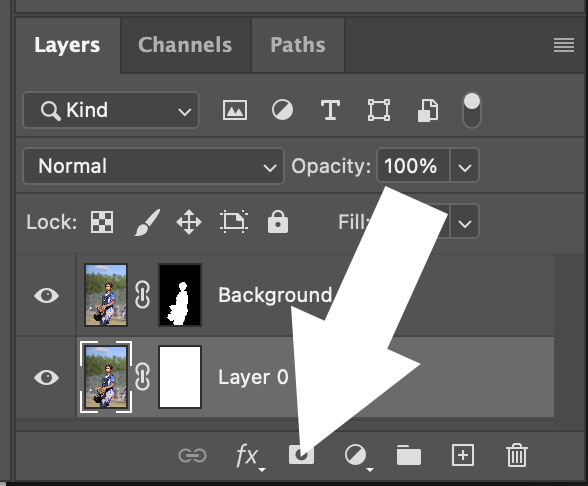
2. Click on the Layers Mask button at the bottom of the layers panel. This should go on the bottom layer similiar to the picture below.
3. Choose the Gradient tool by clicking on the Letter G on the keyboard or the tool in the tool bar. At the top of the screen in the tool options bar, make the gradient black to white and choose the radial gradient.
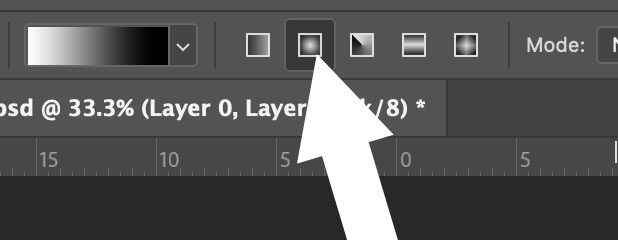
4. On the bottom layer that you just added the Layer Mask, click and drag the gradient. It will have get rid of most of the image and only a portion of it will be visible.
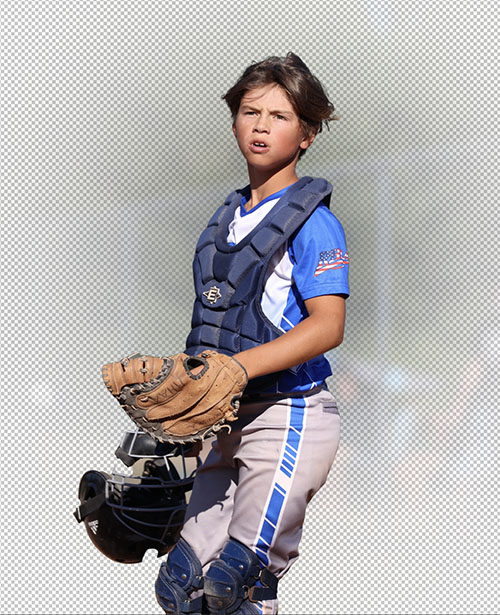
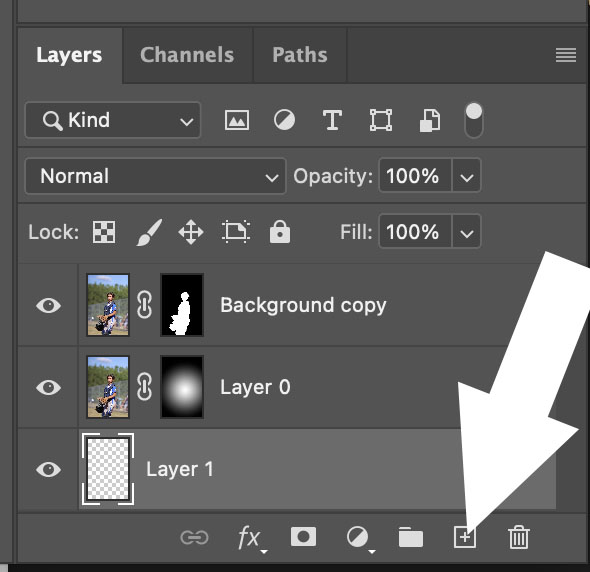
5. Click on the New Layer Button at the bottom of photoshop. Drag this layer to the bottom of the other layers.
6. In the Tool Bar, make the foreground color black by either clikcing on it or by clicking on the letter D on the Keyboard. The Letter D sets the colors to be the default colors of Black and White.
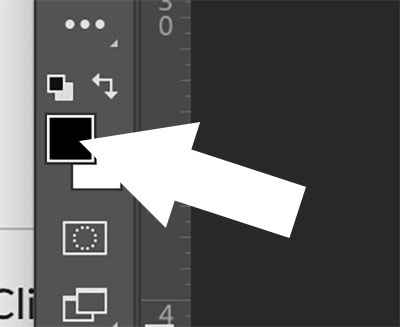
7. Click on Alt-Option Delete to fill in the bottom layer with black. With that layer now filled in you can see the work the gradient did much better in the image.
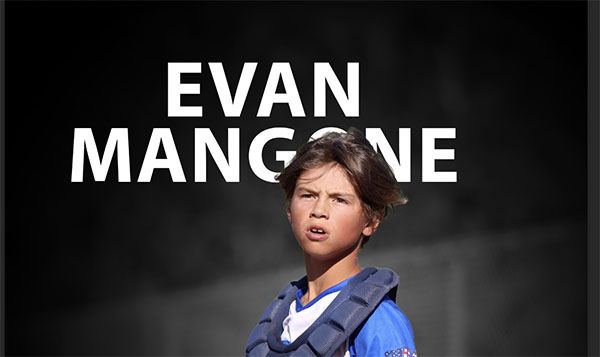
8. Type out Evan's name and place the text behind him in th picture but in front of the background.
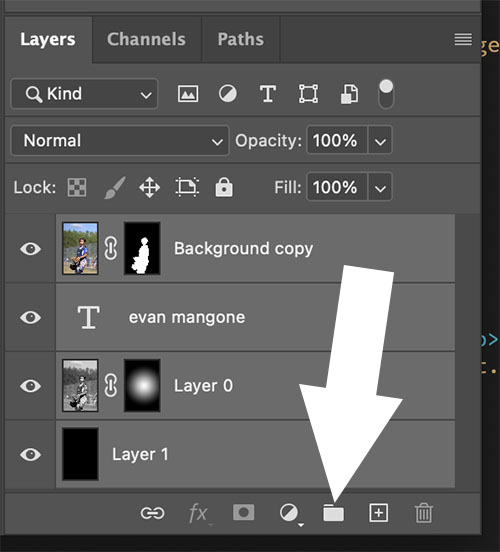
9. Next, select all the layers in the layers panel and place them in a group. The group icon looks like a folder at the bottom of the layers panel. Select all the layers by clicking on the top layer with the mouse and holding down the shift key on the keyboard. Click on the bottom layer in the layers panel next.
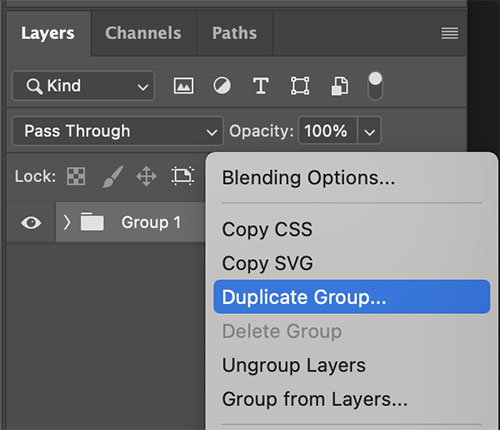
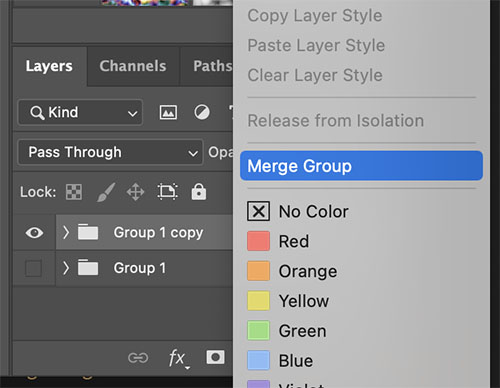
10. Duplicate the group next by clicking on Command-J or right clicking on the layer and choosing Duplicate Group.
11. Right click on the top group and select Merge Layers. Command-E will do the samething. Hide the Eye ball on the bottom group to hide that group.
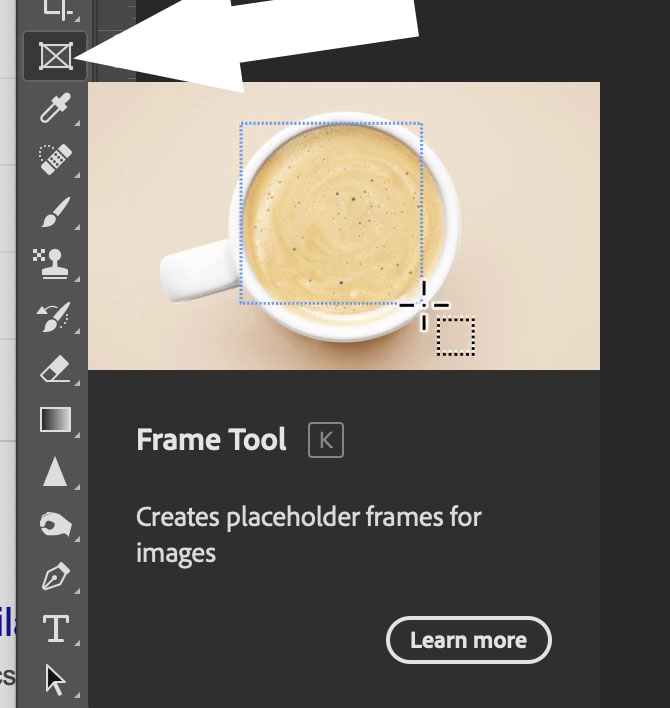
12. Next, click on the Letter K on the keyboard or on the Frame Tool in Photoshop.
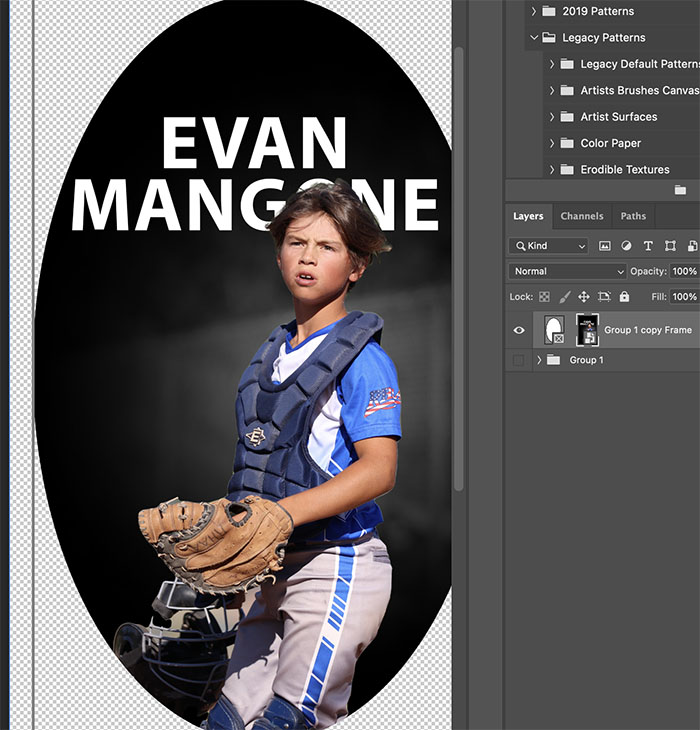
13. Click and drag out the frame tool around Evan and let go. You can adjust the results with the move tool if you wish to.
14. Create a new layer but clicking on Command-Shift-N at the same time. Fill this new layer with black. Once this is all black add detail to the canvas of baseball related items.
