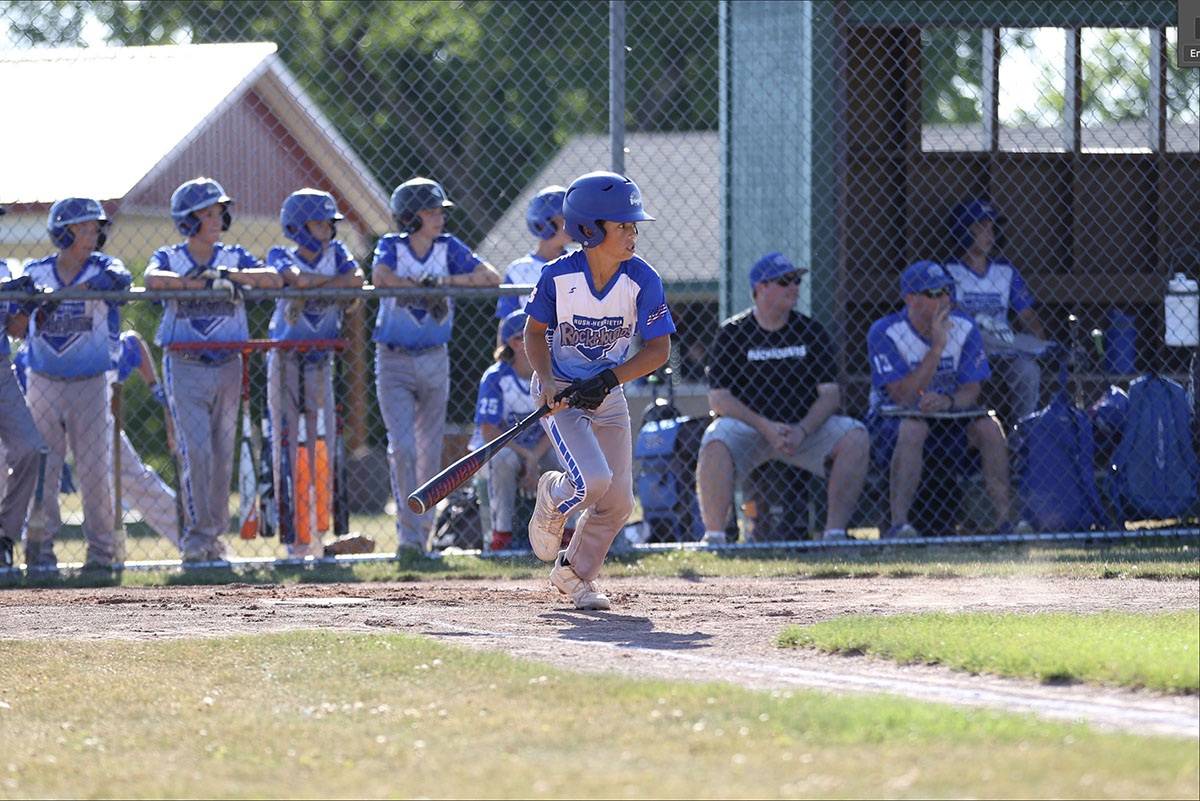
1. Open the image of the ball player after getting a hit!
2. Click on the Letter T on the key board to select the Type tool. You can also click on it with your mouse.

3. On the image, click one time and type out the team name Rockhounds! Choose the font that you want, here I picked a thick font.

4. In the layers panel, right click on the Background layer and choose Duplicate Layer...
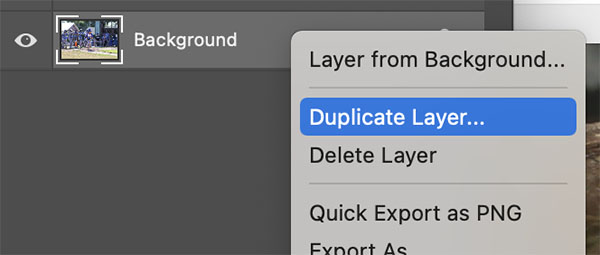
4a. Move the copy of the background above the Rockhounds layer by using the Move Tool.
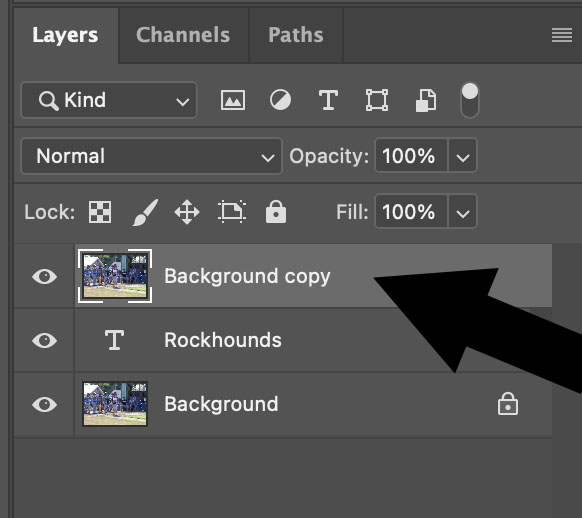
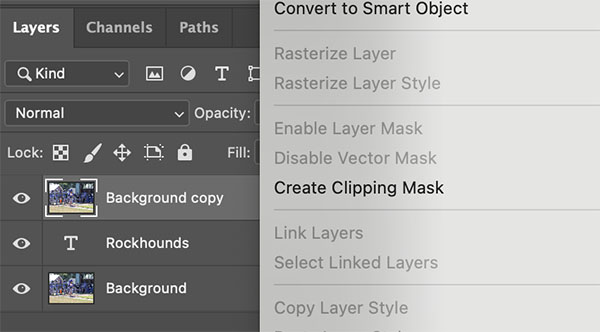
5. Right Click on the Background copy again but this time choose the option Create Clipping Mask. By doing this you will not see anything happen but move on and you will see changes!
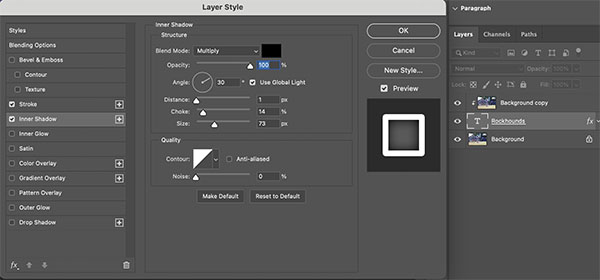
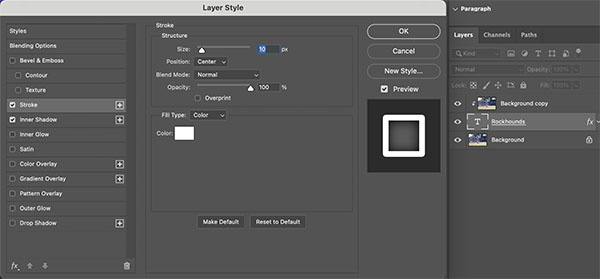
6. Double click on the Rockhounds layer in the layers panel and choose the Stroke and Inner Shadows options. I have the settings here for what I made but you can choose the settings you wish.
7. Click on the Letter C on the keyboard to choose the Crop Tool. You can also use your mouse to click on it in the tool bar.
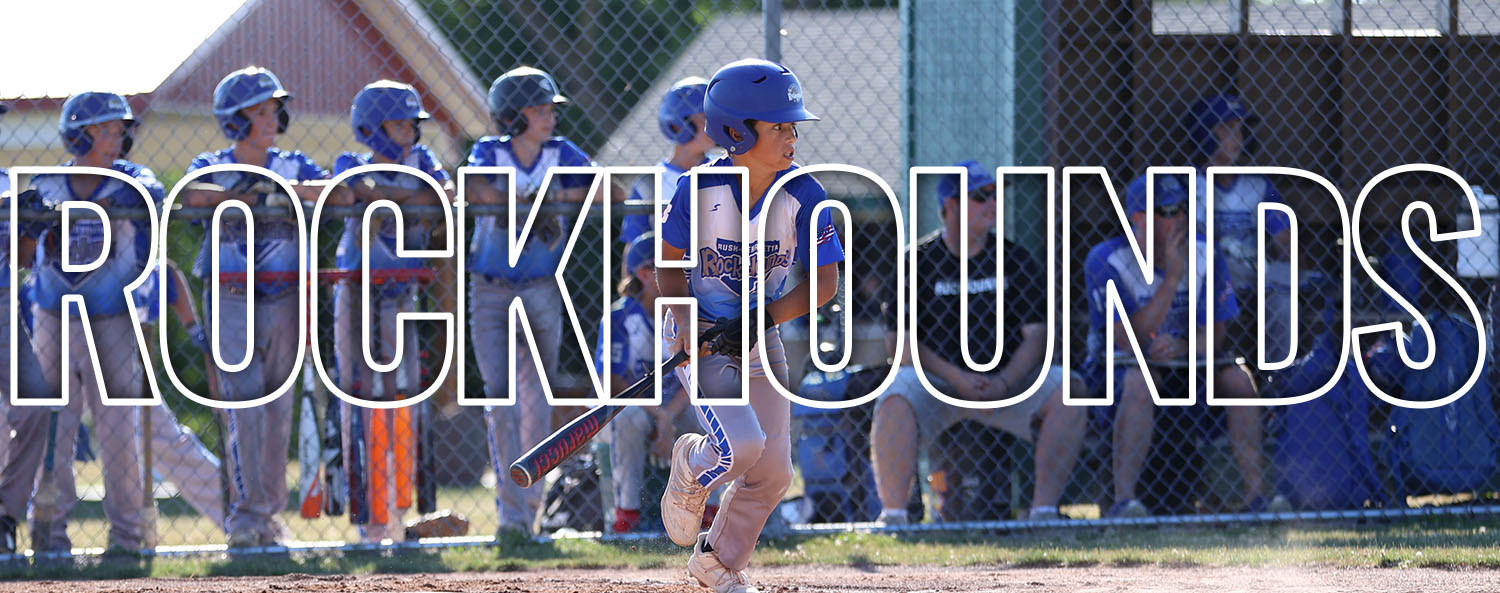
8. Trim off a little off the top of the image and the bottom of the image and you will get what you see below.
