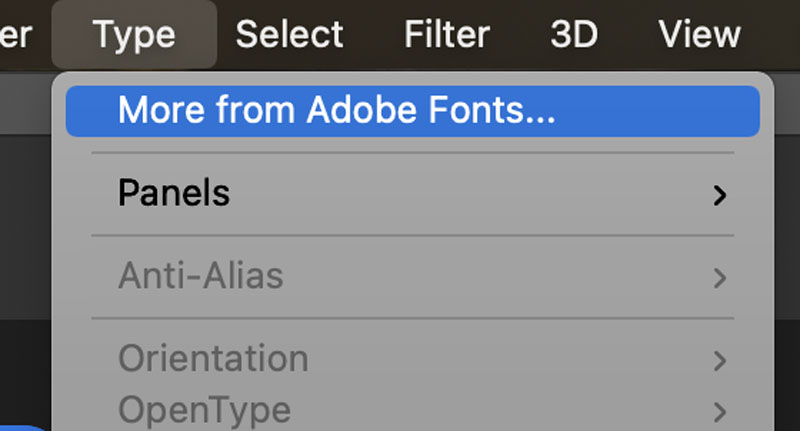
1. Open the Adobe Photoshop Program and Click on the Dropdown Menu Type and click on More from Adobe Fonts
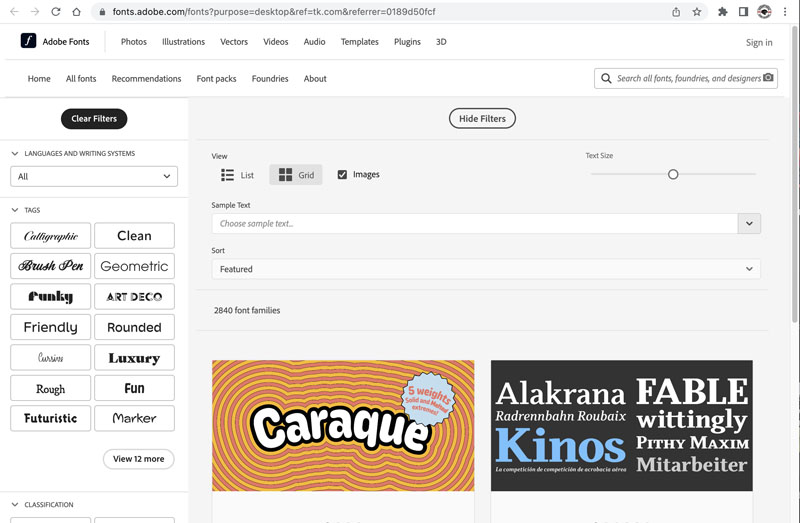
2. On the top right of the screen please click on the login link and login to adobe fonts.
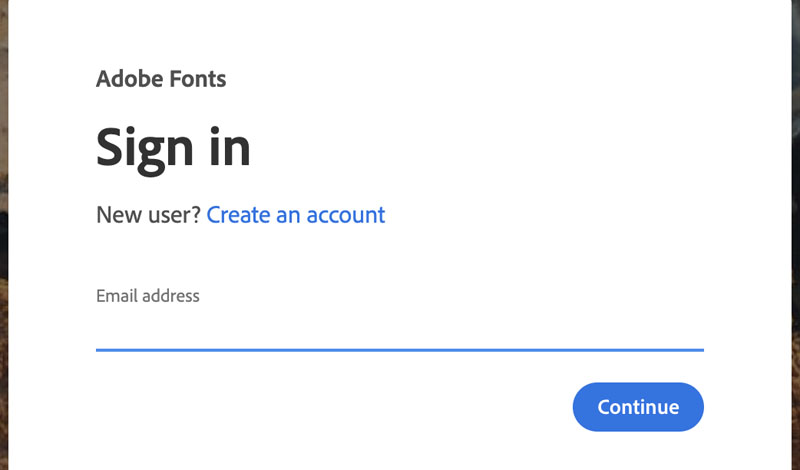
3. The login is similar to how we login to our Express page so it should look familiar
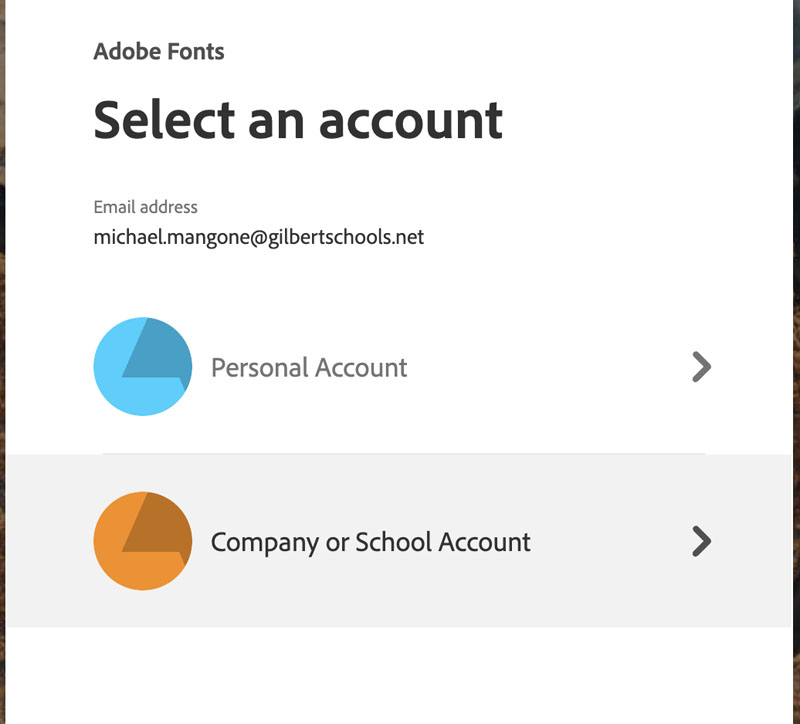
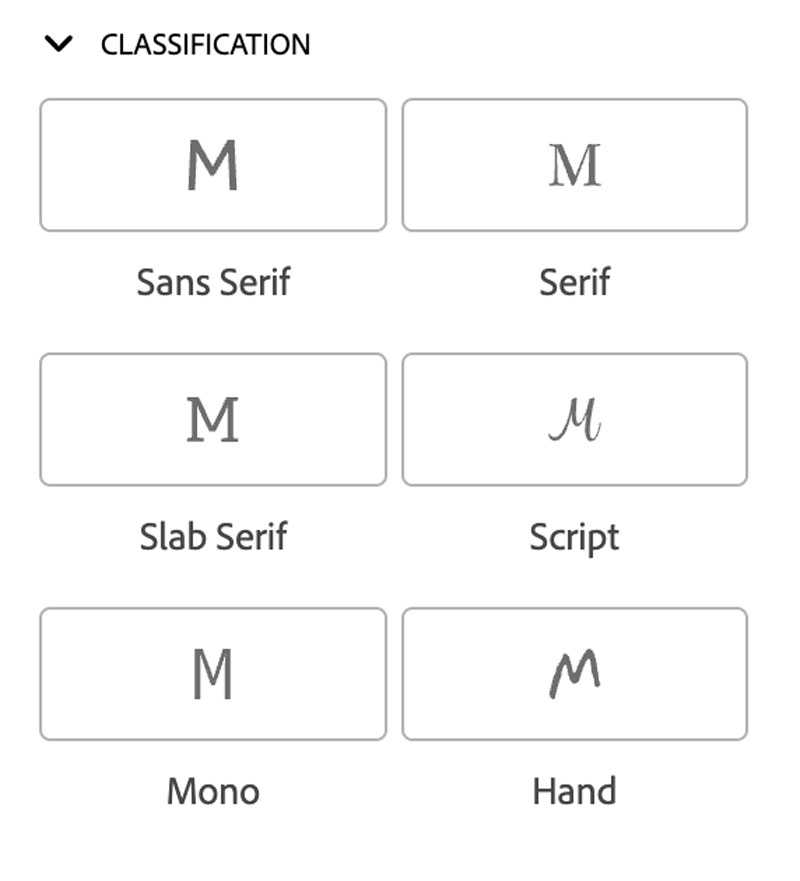
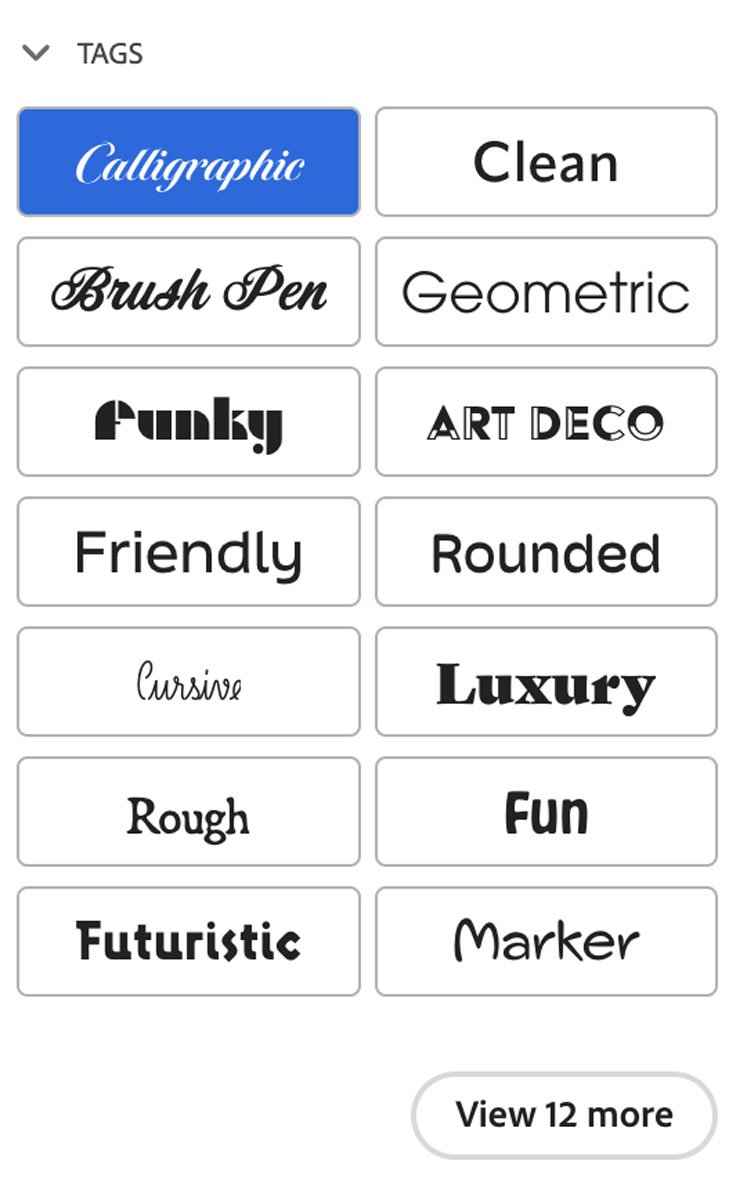
4. Once you have logged in and are in the Adobe Fonts page, on the left side of the screen there are some options. Click on the Classification options you want and the Tags you wish to have. Those types of fonts will pop up and you will have a choice as to what you want.
5. In the Sampe Text Option, type out what you would like to see from each font.
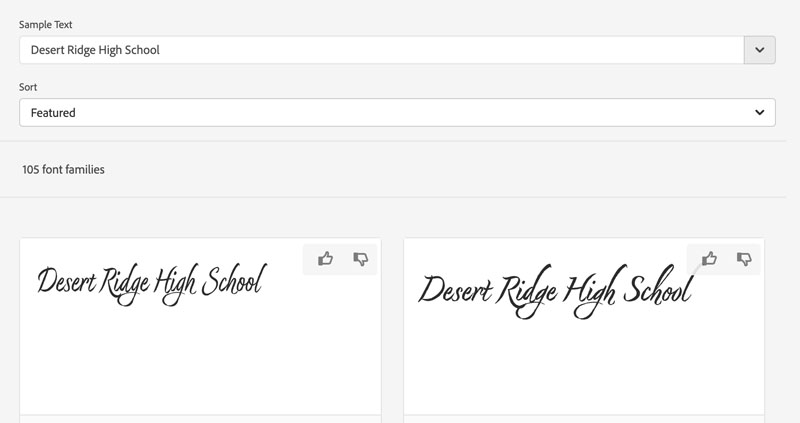
6. When you see the font you like, click on the View Family button to see the different versions of that font that are available. When you see the font you like, click on the Activate Font slider to activate to your computer.

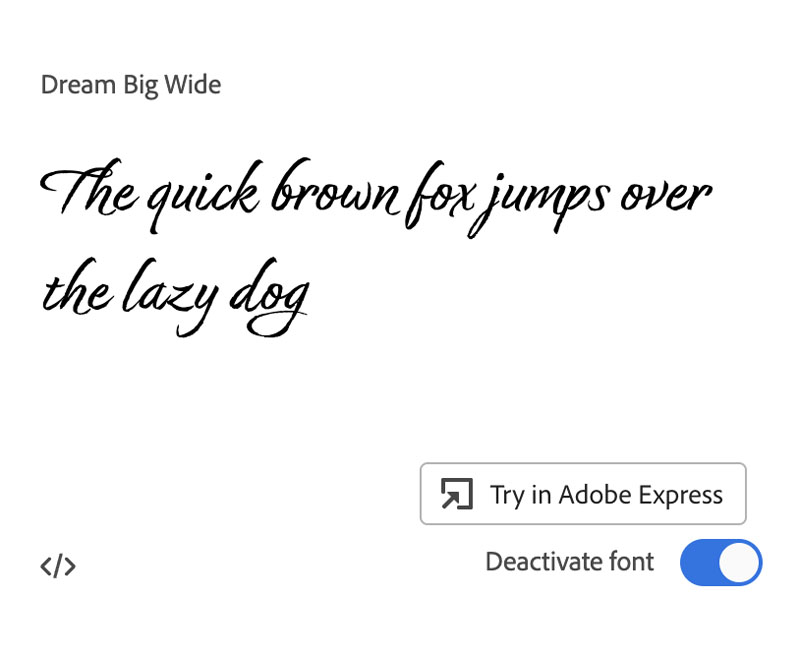
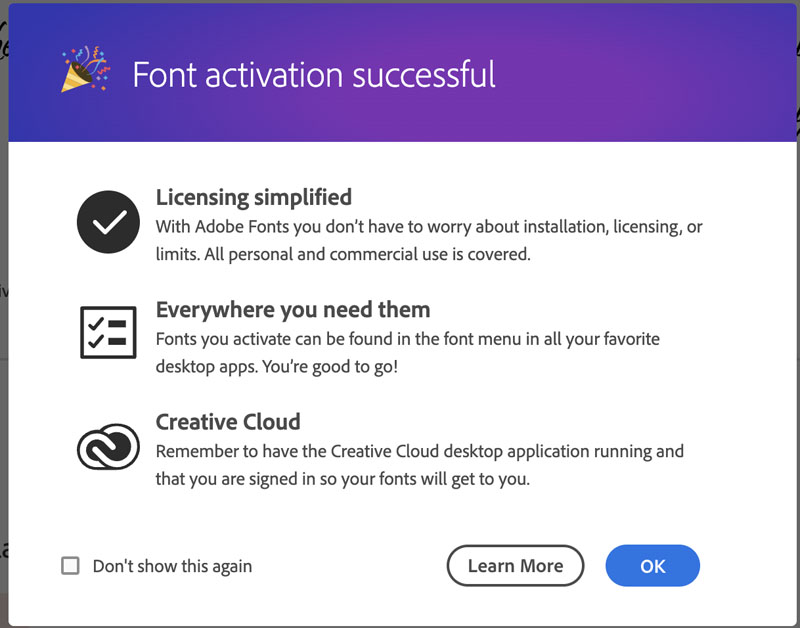
7. When the font has successfully downloaded to your computer, the screen at the bottom should pop up for you to see. Open Photoshop once again and check to see if the font is now in your font book!
